
How to Set Up a POP Account for Thunderbird
Click here to link to the Thunderbird download page. Then click on Free Download. Thunderbird will provide the download tailored to your operating system.
Depending on your computer system and your browser, you may have the option to install Thunderbird directly. In most cases, however, you will be required to save the installation program to your hard drive. The trick is to save it in an area or a directory that you can locate easily. After selecting Free Download, find the program that you downloaded and click on the file name to begin the installation.
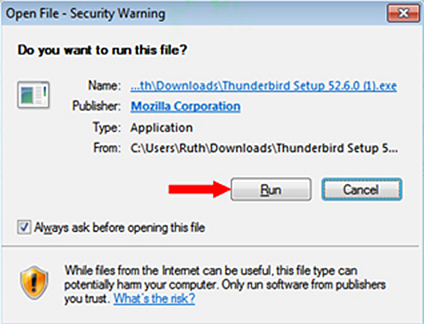
Your computer may give you a security warning when you click on the file. Ignore the warning and click on Run.
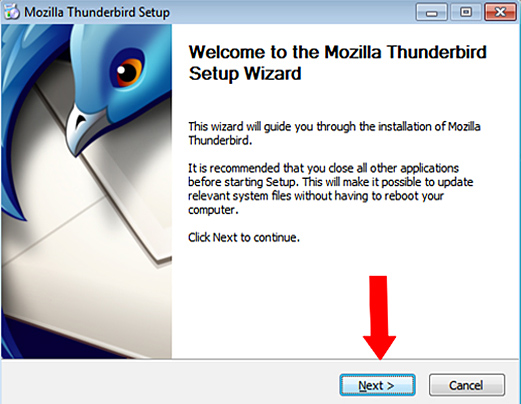
The first part of the installation will 'extract' the Thunderbird program. The Thunderbird Setup Wizard will launch. Click on Next.
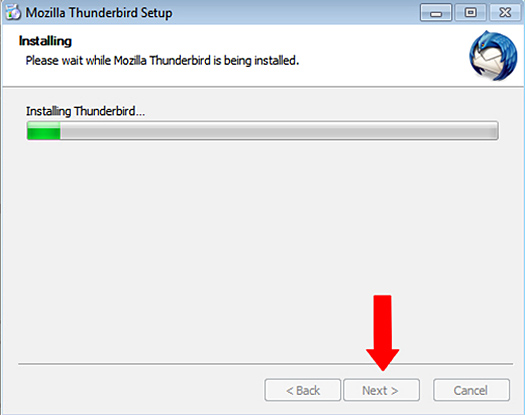
On the next screen, click on "Next" again, which selects the Standard set-up and makes Thunderbird your default email program. Thunderbird will begin the final step of installing the program on your computer. When the installation is complete (yes...) click on "Next". The Thunderbird Setup Wizard splash page will reappear. Click on "Finish".
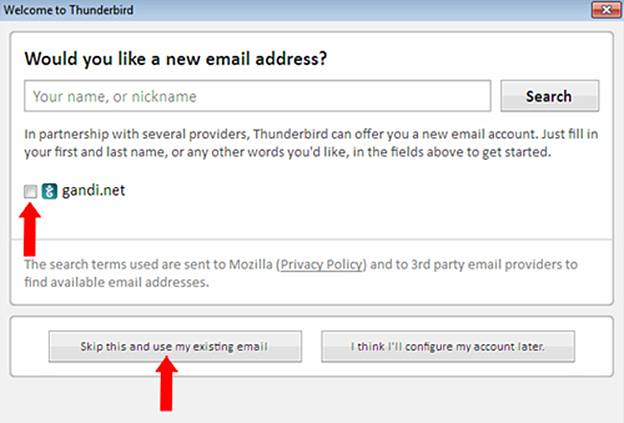
You will arrive at a new window that offers you a Thunderbird email account. Presumably, you already have a Cyber Mesa email account. Therefore, uncheck gandi.net and click on the button that says Skip this and use my existing email.
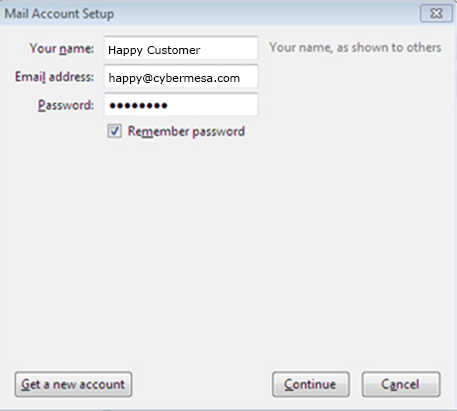
At long last, you are ready to enter the data that will enable you to send and receive email. Type in your name as you wish it to appear on the messages you send. Then type in your Cyber Mesa email address and password. Check Remember password so that you do not need to enter it every time you open Thunderbird. Click Continue.
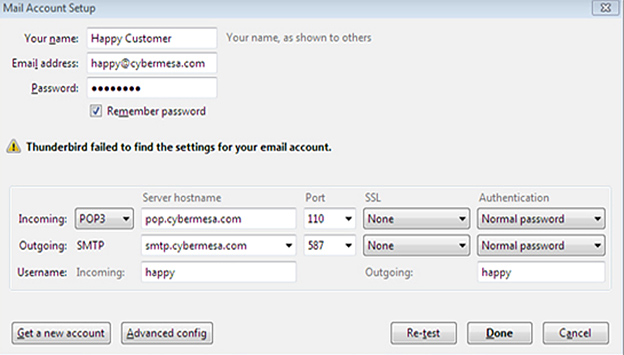
Thunderbird will attempt to find the Cyber Mesa server and settings. In the event that it is not successful, click on the Manual Config button so that you can input the settings for the Cyber Mesa mail servers.

In the next window you will need to add the server names and port numbers. In addition, check to see that the SSL settings are None, and that Authentication drop downs show Normal password.
SSL is a form of email encrytion. Cyber Mesa supports SSL, but we recommend against it in that it often creates issues for the customer - another 'gotcha'.
When you have configured the settings to match the illustration below, click Done
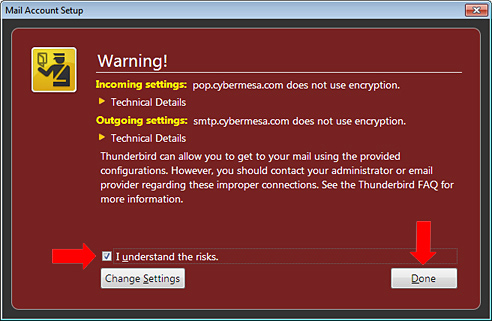
Because you did not select SSL, you will see a warning that your email will not be encrypted. Check the box next to I understand the risks. Then click on Done.
Finally, you will reach the window where you can start to send and receive email!
While you can now send and receive email, we would recommend one more step. The strength of a POP email program such as Thunderbird is that it downloads your email to your computer. Whether or not you are connected to the Internet, you have your correspondence stored locally and permanently.
Even though your mail resides on your computer, by default, it also stays on the server until you delete it. Since you may have more than one computer or device, having the mail on the server allows you to pick up your mail on multiple systems. On the other hand, depending on the amount and size of your incoming mail, your mailbox on the server might eventually reach capacity. The solution is to remove your mail from the server after an interval that you assign.
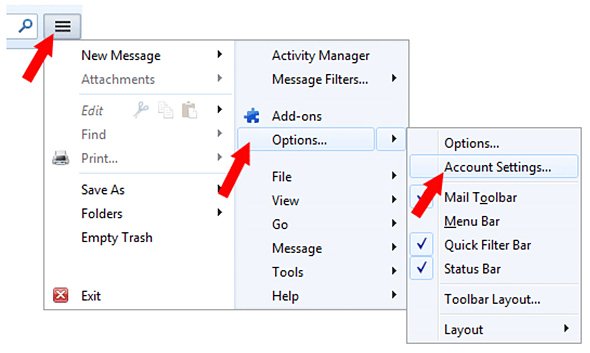
To set the interval for deleting mail on the server, click on the three bars upper right on your screen. Under Activity Manager, point at Options. From the new dropdown menu, select Account Settings....
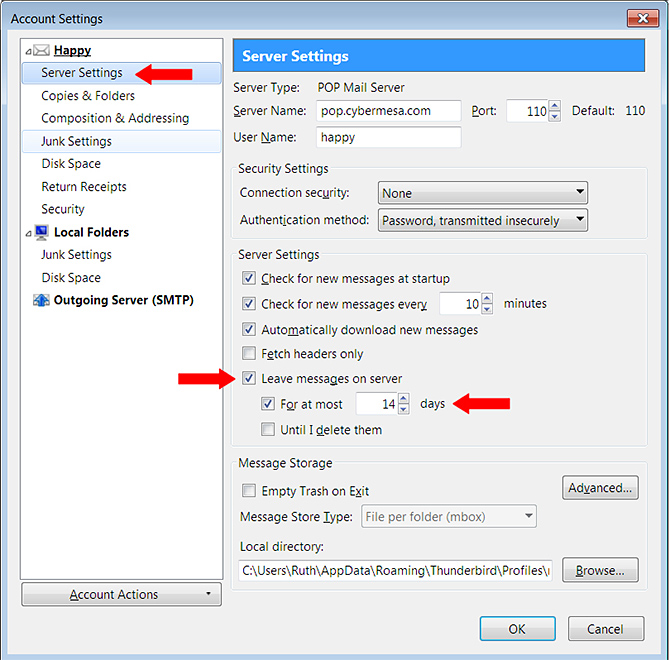
The Account Settings window will open. Next click on Server Settings at the top on the left. The Leave messages on server should already be checked by default. Underneath, check the box next to For at most, and select an interval that suits you. When complete, click on OK to save your change.
That covers it - and YOU did it. Enjoy...