
How to Set Up a POP Account for Mac Mail
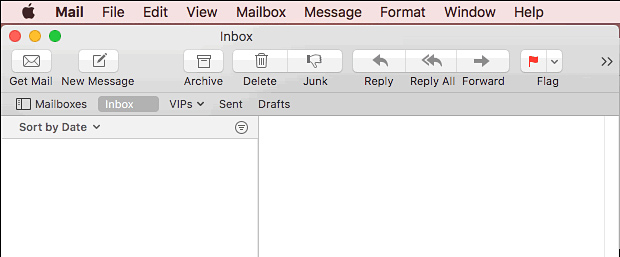
Open the Mail program. You will see the following page:
If you have not added a new account yet, you will be taken directly to the Add Account prompt. If you are adding an additional account, or if the prompt does not load automatically, you will need to select Add Account from the Mail menu. [See illustration 3 below]
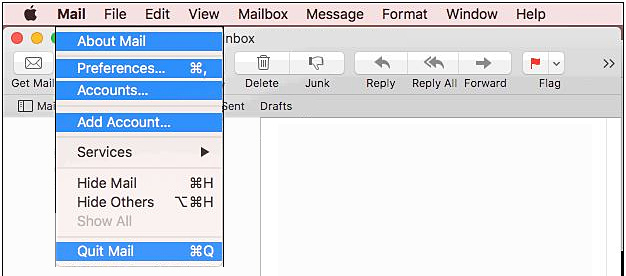
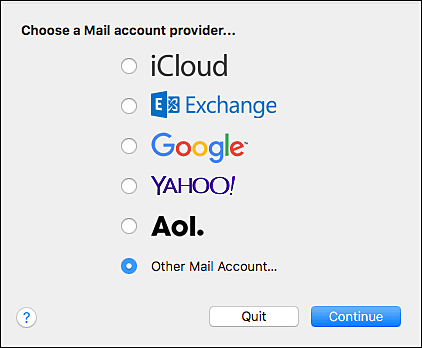
Either way, you will arrive at the Add Account page. From the list of choices, please select Other Mail Account at the bottom. Then click on Continue
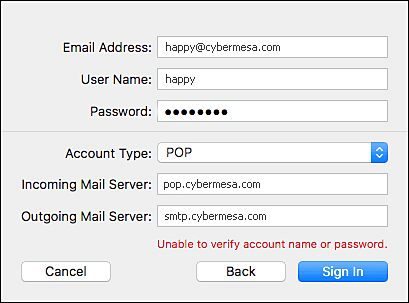
At the next screen you will enter you Cyber Mesa account information as demonstrated below. Then click on Sign In.
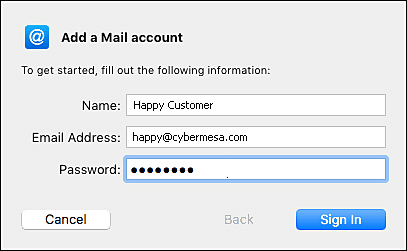
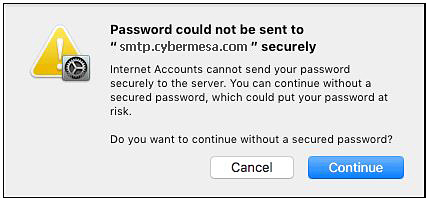
Through an odd Mac Mail anomaly, you will not be able to sign in as yet. Another window will pop up to inform you that your password cannot be sent securely. Click on Continue.
A new window will appear with your email address and password already entered. Enter the Account Type and server information that you see below. Then press Sign In again. It should work! To test it, you can send yourself an email.
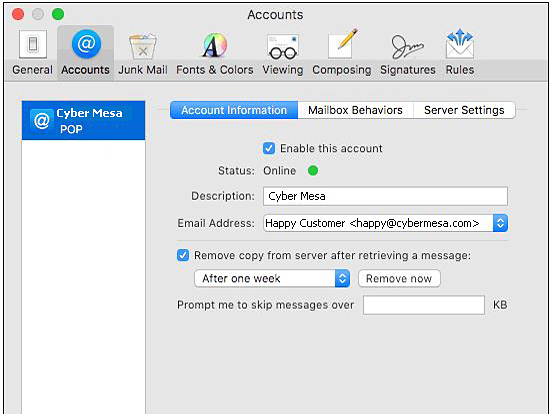
Two more steps! Click on the Mail menu and select Preferences. Then select Accounts. On the left, make sure that your Cyber Mesa account is highlighted. We highly recommend that you click on Remove copy from server after retrieving a message and select After one week from the drop down under it. By leaving the mail on the server for a week or so, you will receive all of your email on all of your devices. On the other hand, it is important to remove the mail from the server so that your Cyber Mesa mailbox does not exceed its capacity.
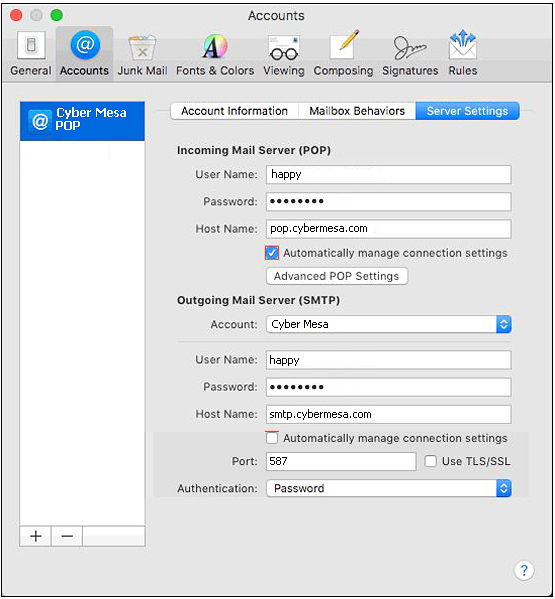
Next, on the Accounts page, select Server Settings at the top on the right. From Server Settings click on Advanced POP Settings.
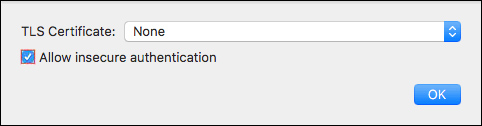
A small window will appear. If not already checked, place a check mark on Allow insecure authentication. Cyber Mesa does not utilize secure authentication, so it is important to check the box. Then click on OK.
That should do it - and YOU did it. Enjoy...